DIY Brake Pads and Rotors | How Much Money I Actually Saved
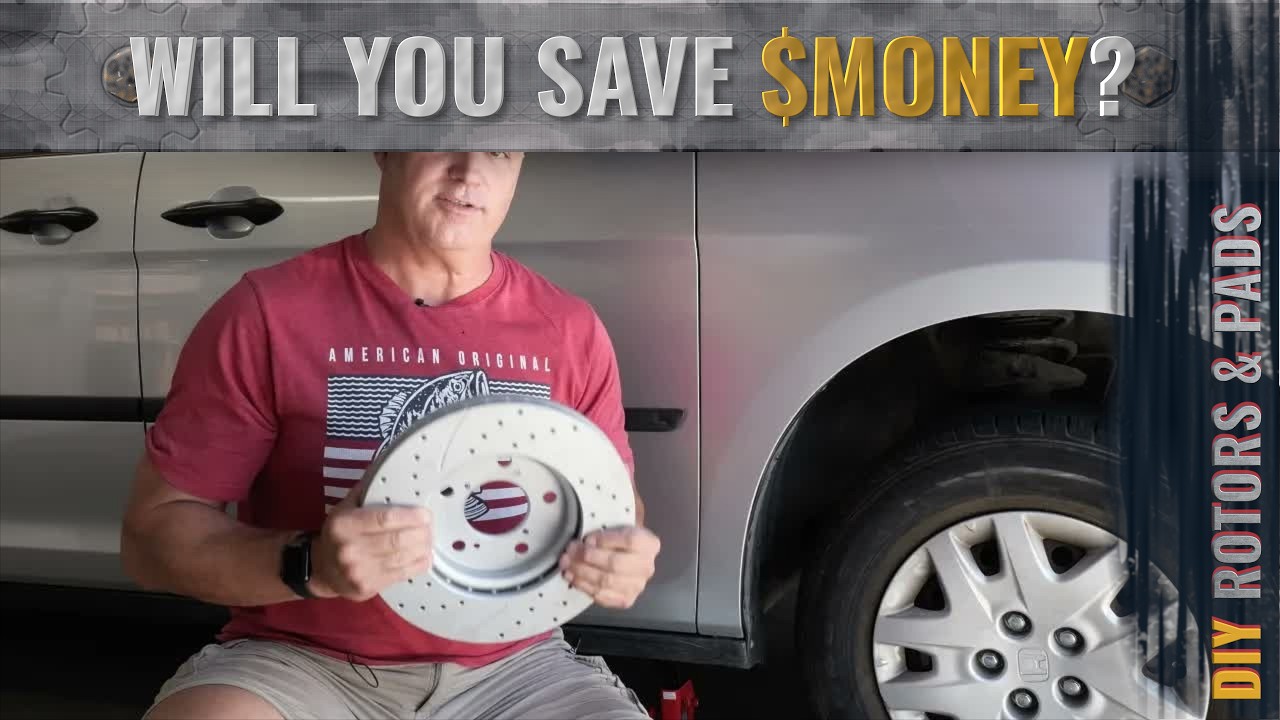
Does your steering wheel shake when you brake? I replaced the rotors and brake pads on my 2010 Honda Odyssey myself and broke down exactly what I saved.
Worth the fix?
First one was intimidating, second one went much easier!
The Fix
OK, so our minivan is old and we rarely drive it anymore, so a lot of maintenance was put off as we really didn't want to spend money on it. The car was very loud due to worn rear bearings (I had no idea that's what the problem was at the time). Worse - whenever you put on the brakes at higher speeds, the steering wheel and front of the car shook... A lot! A shaking steering wheel under braking usually points to warped rotors. Again, I know this now but certainly not during the years of driving a car this close to falling apart.
We didn't fix it or bother with it for many years. We only drove it to Home Depot, the dump, or to take our dog hiking close by. But then our daughter turned 16 and wanted a car to drive. We certainly weren't going to let a teenager drive our nice cars. So the minivan became her "cool" teenager car. Hey it's better than what I had when I was a teenager -- nothing.
Needless to say, I couldn't let my daughter drive a car that shook like an earthquake every time you jammed on the brakes. So I did the proper dad thing and fixed as much as I could. New windshield wiper blades in front, fixed the rear wiper unit (she broke it climbing on the car as a kid), topped off all the fluids, new battery, and the big one -- fixed the rotors.
This was my first major auto repair. Sure I messed with carburetors, points, changed tires, oil, spark plugs, etc. Everybody did in the '70s and '80s - you had to. Cars broke down weekly and everyone was poor. So this was very intimidating for me and it showed when I started the process. I was nervous but determined. And I certainly didn't want to start spending money on an old car we hardly drove. So I watched some YouTube videos, read articles, checked AI, bought some new tools and equipment (see above) and got started.
What This Job Actually Involves
Pads and rotors are one of the more approachable car fixes. If you know how to take a tire off, you're like 25% there. Seriously, hindsight is pretty clear on this. Two bolts for the calipers, two bolts for the clamp, two screws for the rotor, a couple of springs for the pads. Sure there are some tricky parts and complications but not too many. The most difficult part for me (after I did it once and realized what was involved) was cleaning everything up, remembering where everything went, and not destroying the brake line.
A Lot of Things Went Wrong
Don't get me wrong - it was intimidating and frustrating when I first started and a lot of things went wrong. I tried to take off the manufacturing screws on the rotor without using an Impact Driver (see above) and immediately stripped one of the screw heads. Panic almost from the start and a quick trip to the auto parts store to get an impact driver. The original brake pads were reversed and upside down. Not knowing what I was doing, this confused me and I thought my left/right pads were mislabeled. After replacing the rotor and putting the clamp back on, it wouldn't turn! Spinning the wheel assembly turned 1/4 turn and then scraped against the clamp. This was a seriously warped rotor from the manufacturer. Now I had no idea at the time and assumed I screwed it up and just damaged the rotor. After trying several times I couldn't get the rotor to turn without hitting the clamp.
Eventually I gave up and bought new front rotors from the local auto parts store. Twice as much as I paid for all four rotors originally. Unfortunately - I actually got the rear rotors not the front (not sure if I gave the clerk wrong info or if he screwed it up but doesn't really matter). Fortunately it was very obvious I had the wrong rotors when I tried putting it on. Third trip to auto parts store I got the proper rotor. This time it went on easily and spun effortlessly without rubbing against the clamp at all. The rest of the job took like 15 minutes. If you have the proper parts and tools, this is actually an easy job. Get the impact driver and don't be cheap (like I was) when buying the parts.
Also, this video goes over these details. It's not a how-to guide on how to replace them. I have enough footage but honestly was a little shaken up by the first rotor attempt that I decided just to talk about what I went through. If you want me to make a how-to video - leave a comment on the video on YouTube.
Where the Real Savings Show Up
The original parts I bought were for front & rear rotors, pads, and hardware (clips, etc.) and cost like $150. I've never done this so it seemed like a reasonable price. Obviously I was wrong as the rotors weren't even round. The proper rotors and pads for just the front were $230 from the auto parts store. Had I gotten these originally, it would have saved a lot of stress. Of course I would have still stripped the rotor screw, but at least everything would have gone back together easily.
But still. $230 for parts, another $40 for cleaner, anti-seize, lube, and you could do a $500 job for less than $300. I ended up buying new tools for about $300 so this job was a break-even. But check the list below on the fixes I've done since. I have not bought any tools since this job so it's paying back exponentially!
Just the knowledge and confidence I had after doing this is enough for me. The money savings is a nice benefit. Knowledge is power. I'm never gonna be a mechanic or even fix other people's cars. But if something breaks on one of my cars - my default response is not going to be "call a mechanic". I'm gonna investigate, troubleshoot and maybe even fix it myself. That's the kind of knowledge worth having.
Safety Note
Brakes are not a place to cut corners. Torque every fastener to spec, use jack stands rated for the vehicle's weight, and pump the brake pedal several times before driving to reseat the caliper pistons against the new pads.
The Honda Fix List
Salvage/Inspection List
- Rear Top Brake Light
- Brake Light
- Rear Wheel Bearing Assembly
- Front Struts - still editing
- Lower Control Arms - still editing
- Rear Shock Dampener - still editing